What Is a Network Switch? A Complete Guide to Understanding Network Switches
سبتمبر 30, 2024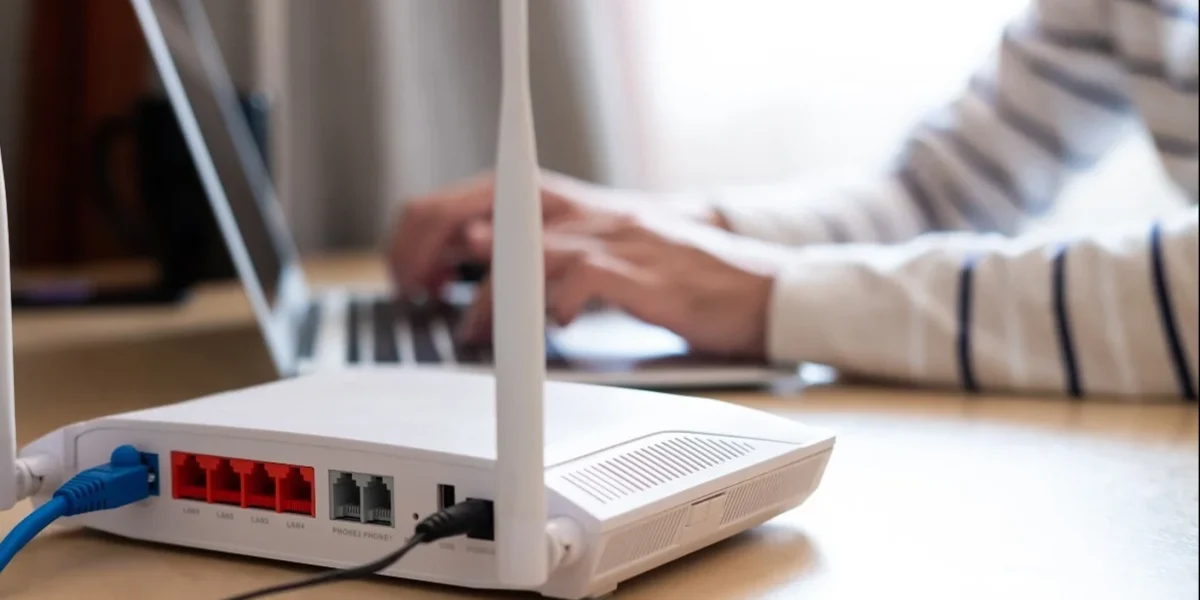
In today’s interconnected world, networking is a fundamental necessity. Whether you’re setting up a home office, managing a small business, or configuring a large-scale corporate environment, understanding how to connect a computer to a router or switch is essential. Properly connecting these devices ensures stable, fast, and secure data transmission, which is crucial for optimal performance. This blog will guide you through the entire process, breaking down everything from hardware requirements to best practices for securing and optimizing your network.
Understanding the Basics: Routers and Switches
Before diving into the connection process, it’s essential to understand the fundamental differences between routers and switches. Both devices play critical roles in networking but serve different purposes.
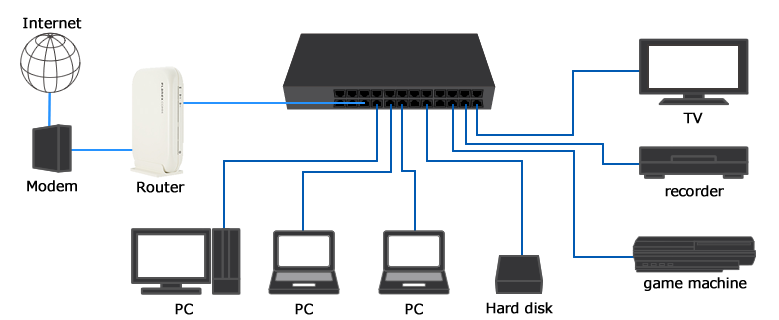
- Router: A router connects multiple networks together and routes data between them. In most home and small office setups, the router connects your local network to the internet. It typically includes built-in security features like firewalls and often provides wireless connectivity.
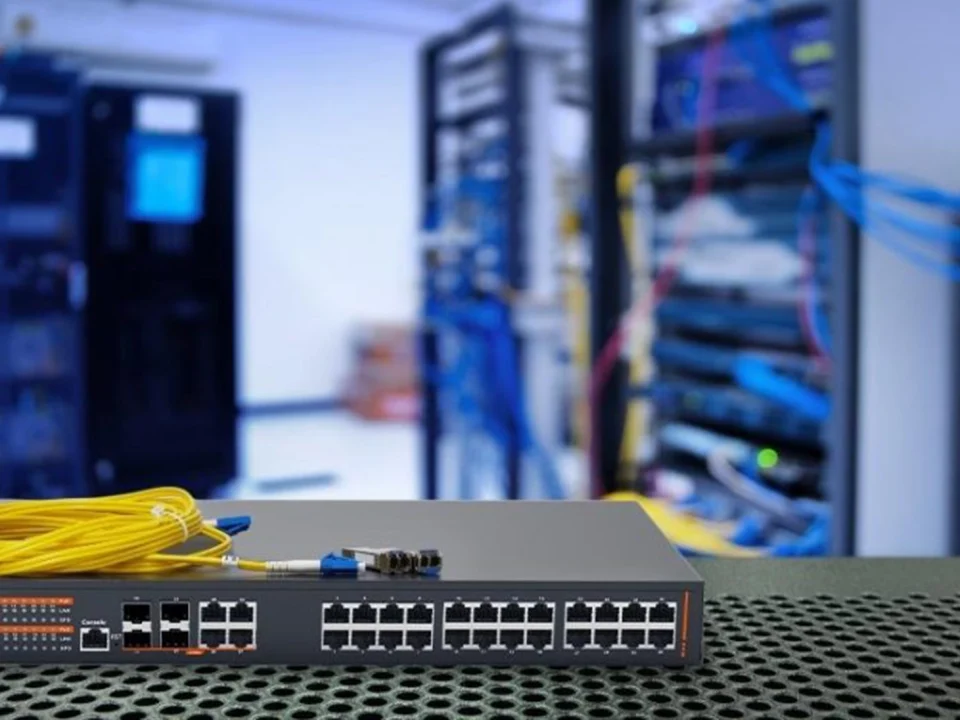
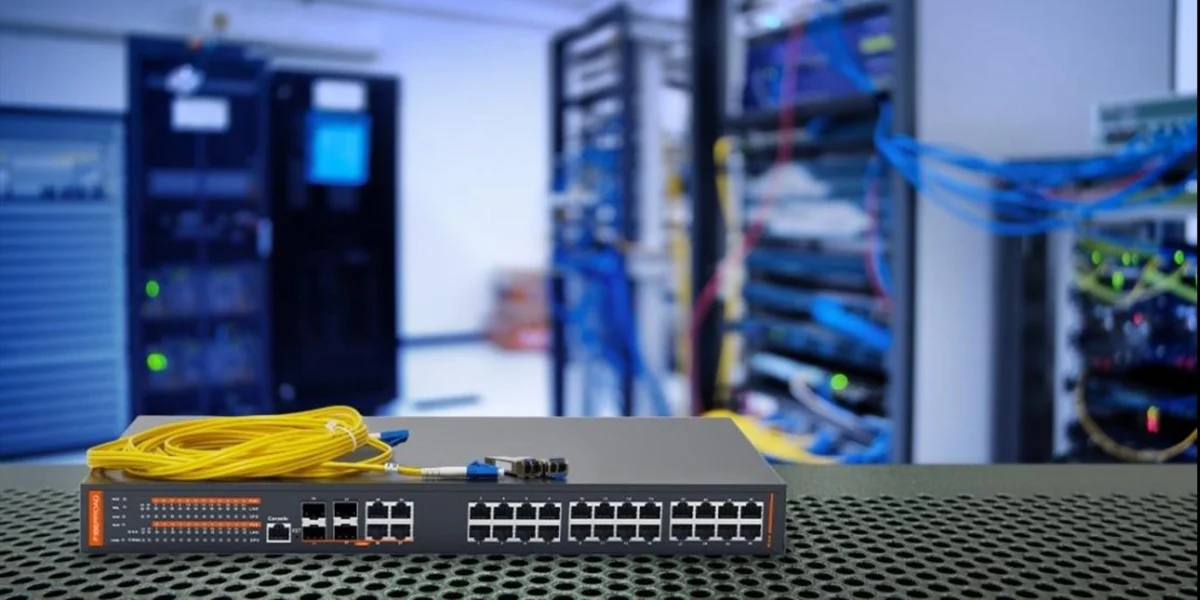
- Switch: A switch, on the other hand, is used to connect multiple devices (such as computers, printers, and servers) within the same local area network (LAN). Unlike routers, switches don’t route data between different networks but manage data flow between devices on the same network.
Both routers and switches can be integral to a network, and understanding how they differ will help you choose the right equipment for your needs.
Hardware Requirements: What You’ll Need
To connect a computer to a router or switch, you will need the following hardware:
- Router or Switch: Depending on your network setup, choose a suitable router or switch.
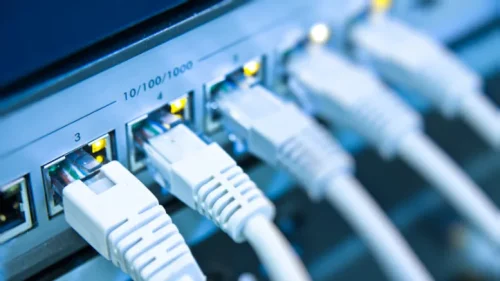
- Ethernet Cables: These are the physical connectors that allow communication between devices. Most Ethernet cables today are Category 5e (Cat5e) or Category 6 (Cat6), which support high-speed data transfer.
- Network Interface Card (NIC): Most modern computers come with a built-in NIC, which allows the computer to connect to a wired network. If your computer doesn’t have one, you will need to install a NIC.
- Power Supply: Both your router and switch will need power, so make sure they are properly connected to a power source.
Step-by-Step Guide: Connecting a Computer to a Router
Let’s first look at how to connect your computer to a router. Follow these simple steps:
Step 1: Turn Off Devices
Before starting, make sure both your router and computer are powered off. This minimizes the risk of damage during the connection process and ensures that the router will recognize the new device properly once powered back on.
Step 2: Connect the Ethernet Cable
Take an Ethernet cable and plug one end into your computer’s NIC port. The NIC port typically resembles a phone jack, but it is slightly larger. Once connected to your computer, plug the other end of the Ethernet cable into one of the available LAN ports on your router. Most routers have multiple LAN ports, usually located on the back of the device.
Step 3: Power On the Router
After physically connecting the computer and router, turn on the router. Wait for a few seconds to a minute for the router to fully power up and initialize.
Step 4: Power On the Computer
Next, turn on your computer. Once the operating system boots up, it should automatically detect the wired connection to the router.
Step 5: Configure Network Settings (if Necessary)
In most cases, the router will automatically assign an IP address to your computer using DHCP (Dynamic Host Configuration Protocol). This will allow your computer to communicate with other devices on the network and connect to the internet. However, if your network requires static IP configuration, you’ll need to manually set the IP address, subnet mask, and gateway settings. You can do this by navigating to your computer’s network settings.
Step 6: Test the Connection
Once the router has assigned an IP address to your computer, test the connection by opening a web browser and trying to access the internet. If everything was set up correctly, you should be able to browse the web without any issues.

Connecting a Computer to a Switch
Now, let’s look at how to connect a computer to a switch. The process is similar to connecting a computer to a router, with a few key differences.
Step 1: Turn Off Devices
As with connecting to a router, start by turning off both the switch and your computer.
Step 2: Connect the Ethernet Cable
Take an Ethernet cable and plug one end into your computer’s NIC port. Plug the other end into an available port on the switch. Switches typically have multiple ports, allowing several devices to connect simultaneously.
Step 3: Power On the Switch
Turn on the switch and wait for it to initialize. Most switches have indicator lights that show the status of each connection, so ensure that the light corresponding to your computer’s port is lit, indicating a proper connection.
Step 4: Power On the Computer
Once the switch is powered on, turn on your computer. As with the router, your computer should automatically detect the connection.
Step 5: Assign IP Address
Since switches don’t assign IP addresses like routers do, you’ll need a DHCP server within your network to assign IP addresses automatically. In most cases, this DHCP server will be integrated into the router. If your network doesn’t have a router or DHCP server, you will need to manually configure the IP address settings on your computer.
Step 6: Test the Connection
Test the connection by trying to access shared resources on the network or connecting to the internet via a router connected to the switch. If the connection is working, you should have full access to your local network and, if applicable, the internet.
Wireless Alternatives
While wired connections are preferred for their speed and reliability, many users opt for wireless setups. To connect a computer to a router wirelessly, follow these steps:
- Ensure Wireless Capability: Verify that your computer has a wireless network card or adapter.
- Power On the Router: Ensure the wireless router is powered on and broadcasting a signal.
- Connect to the Wireless Network: Go to your computer’s Wi-Fi settings, select your network from the list of available networks, and enter the security password.
- Test the Connection: Once connected, open a web browser to test your internet access.
Optimizing Network Performance
Once your computer is connected to the router or switch, there are several ways to optimize your network’s performance:
- Use Quality Cables: High-quality Ethernet cables (Cat6 or Cat6a) reduce interference and support faster data rates.
- Proper Cable Management: Organize cables to prevent tangling and signal degradation.
- Secure Your Network: Always secure your router with a strong password and enable encryption (such as WPA3) to protect against unauthorized access.
- Regular Maintenance: Update your router’s firmware and ensure that network devices are running the latest software versions to improve performance and security.
- Upgrade Equipment: If your network demands increase, consider upgrading to more advanced routers, switches, or higher-category Ethernet cables.
Troubleshooting Connection Issues
Even with the best preparation, you might encounter connectivity issues. Here are a few common problems and their solutions:
- No Internet Connection: Ensure your router is connected to the modem, and the internet service is active.
- Limited Connectivity: Restart your devices and check for IP conflicts. Ensure the router or DHCP server is correctly assigning IP addresses.
- Slow Speeds: Check for outdated cables or interference. If using Wi-Fi, ensure your computer is within range of the router.
Conclusion
Connecting a computer to a router or switch is a straightforward process, but one that forms the backbone of a functional network. Whether you’re setting up a home office, small business, or larger enterprise, understanding the basics of networking can go a long way in ensuring smooth, efficient, and secure connectivity. By following the steps and recommendations outlined in this guide, you’ll have a reliable connection that meets your needs.
