What Is a Network Switch? A Complete Guide to Understanding Network Switches
سبتمبر 30, 2024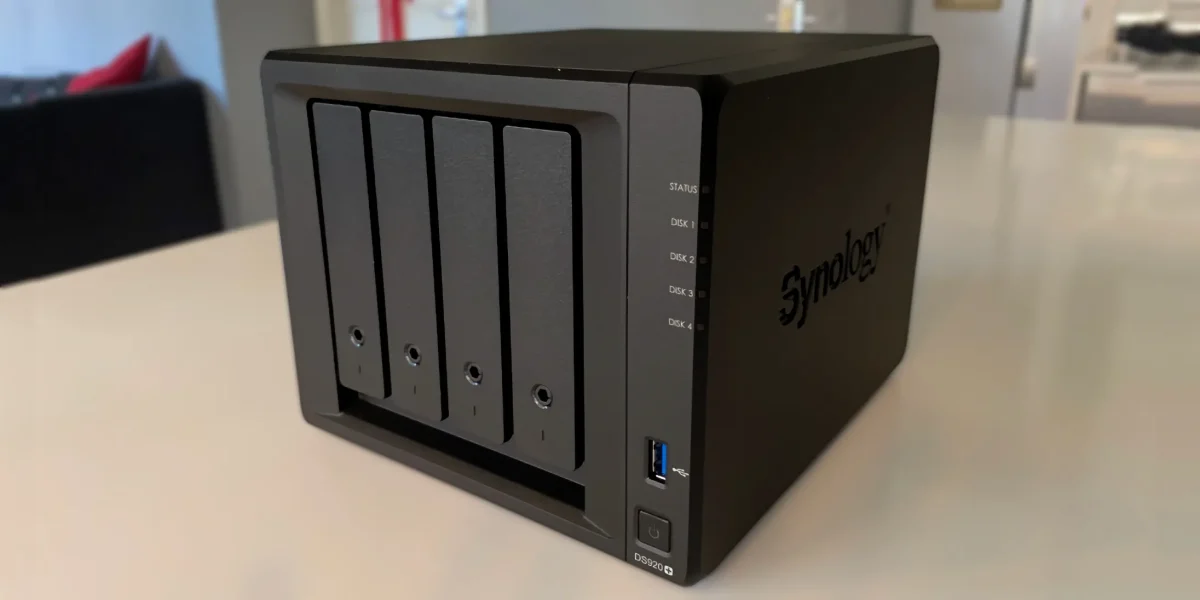
In the digital age, the ability to store, manage, and access data efficiently is more critical than ever. Whether you are a business dealing with massive amounts of data or a home user looking to centralize media files, Network-Attached Storage (NAS) devices offer a versatile solution. NAS devices allow you to store data centrally and make it accessible to any device on your local network.
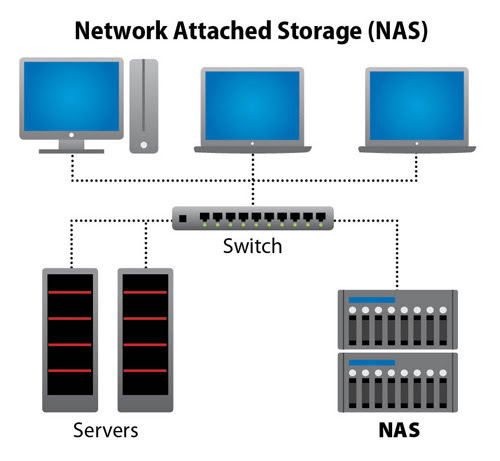
One of the first steps in setting up a NAS system is connecting it to your home or business network via a router or switch. In this guide, we will walk you through the process of connecting a NAS device to a router or switch, highlighting everything from hardware setup to network configuration.
What is a NAS (Network-Attached Storage) Device?
Before diving into the setup process, it’s essential to understand what a NAS device is and why it is such a valuable tool for managing data.
A Network-Attached Storage (NAS) device is a specialized storage system that connects directly to your local network. Unlike traditional external hard drives, which connect directly to a computer, NAS devices are accessible from any device on the network, including PCs, smartphones, and tablets. This makes them ideal for sharing files, creating backups, and streaming media.
Key benefits of NAS devices include:
- Centralized Storage: Store all your files in one place, accessible to any network device.
- Data Backup: Many NAS systems come with built-in redundancy (RAID configurations) to ensure data protection in case of drive failure.
- Media Streaming: Stream music, videos, and photos directly from the NAS to devices on your network.
- Remote Access: Most NAS devices offer the ability to access files remotely, giving you flexibility even when you’re away from home or the office.
Connecting a NAS Device to a Router or Switch: Step-by-Step
Now that we have a basic understanding of what a NAS device is and why you might want one, let’s walk through the steps for connecting it to a router or switch.
Step 1: Prepare Your Equipment
Before starting the connection process, make sure you have the following equipment:
- NAS Device: Ensure the NAS is ready to be connected to the network. Popular brands include Synology, QNAP, and Western Digital.
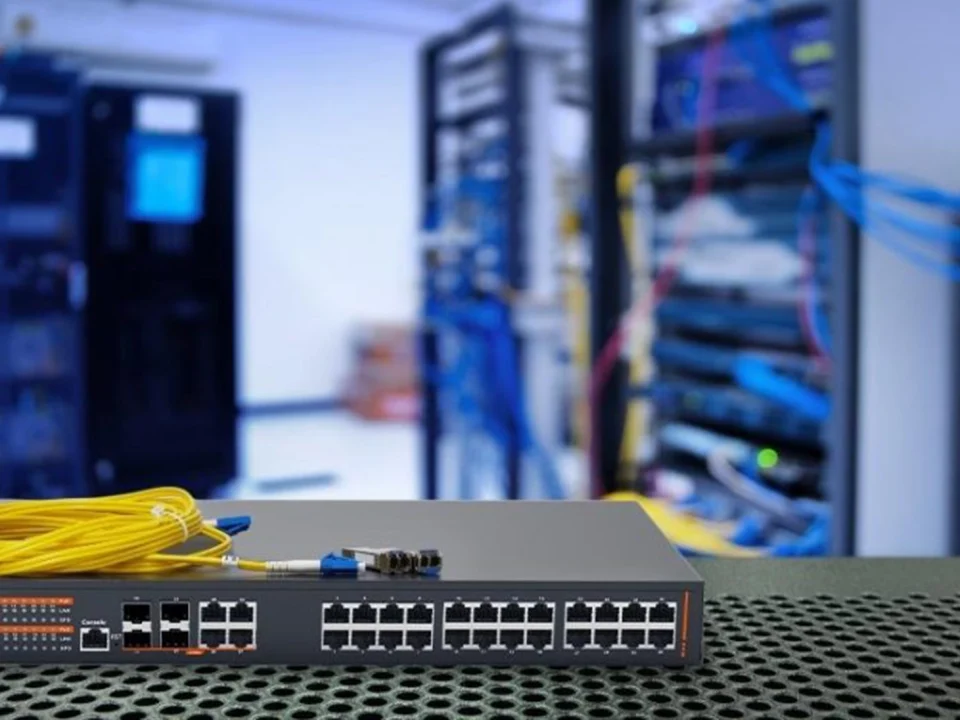
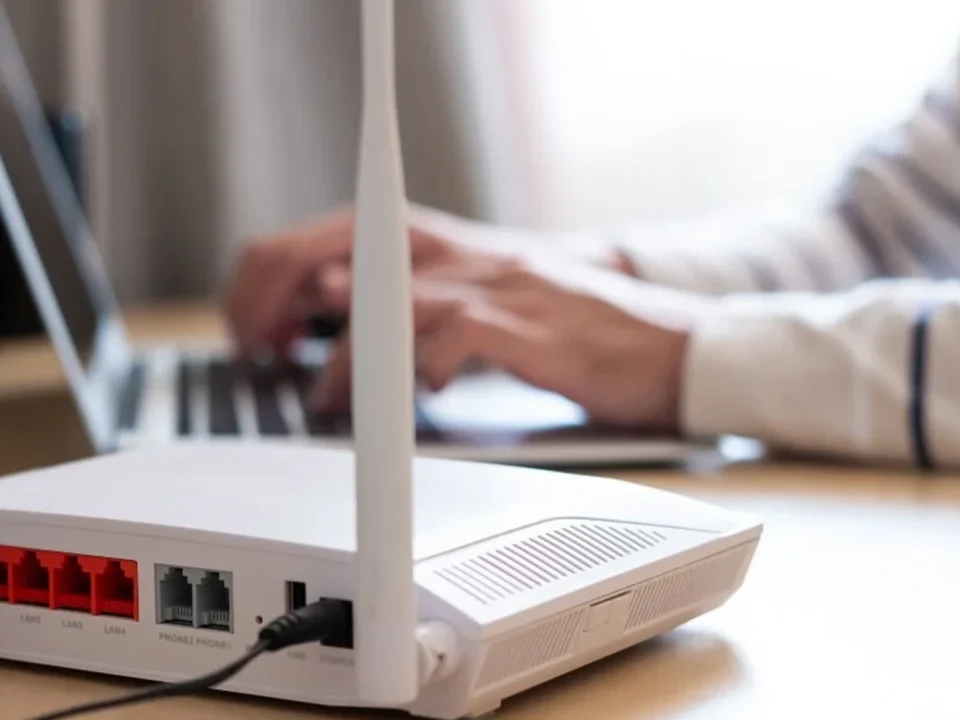
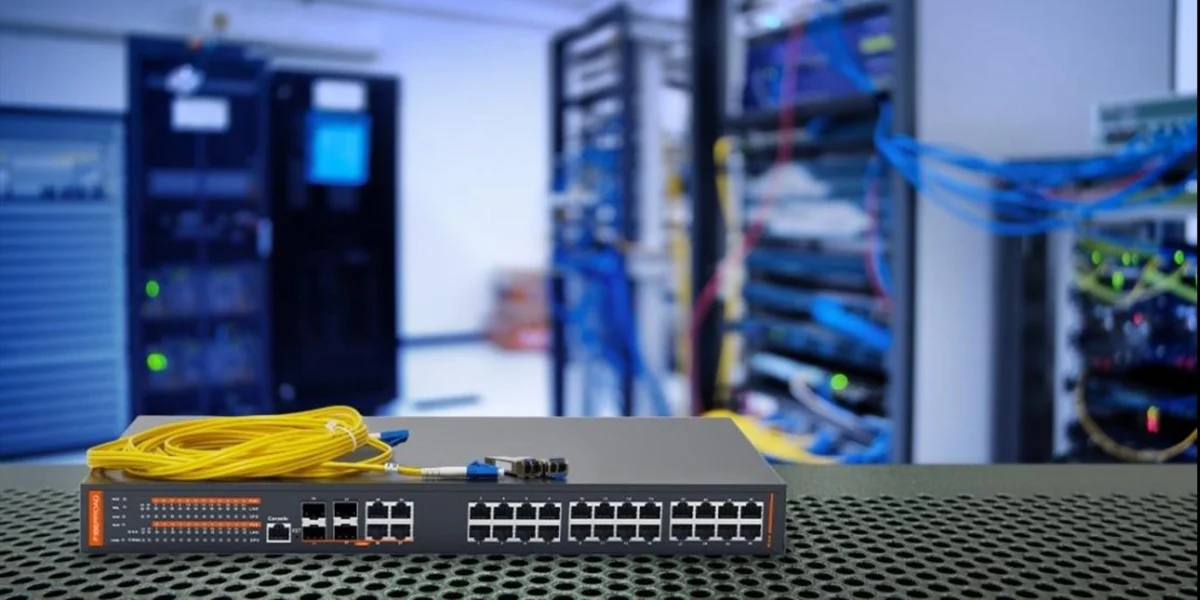
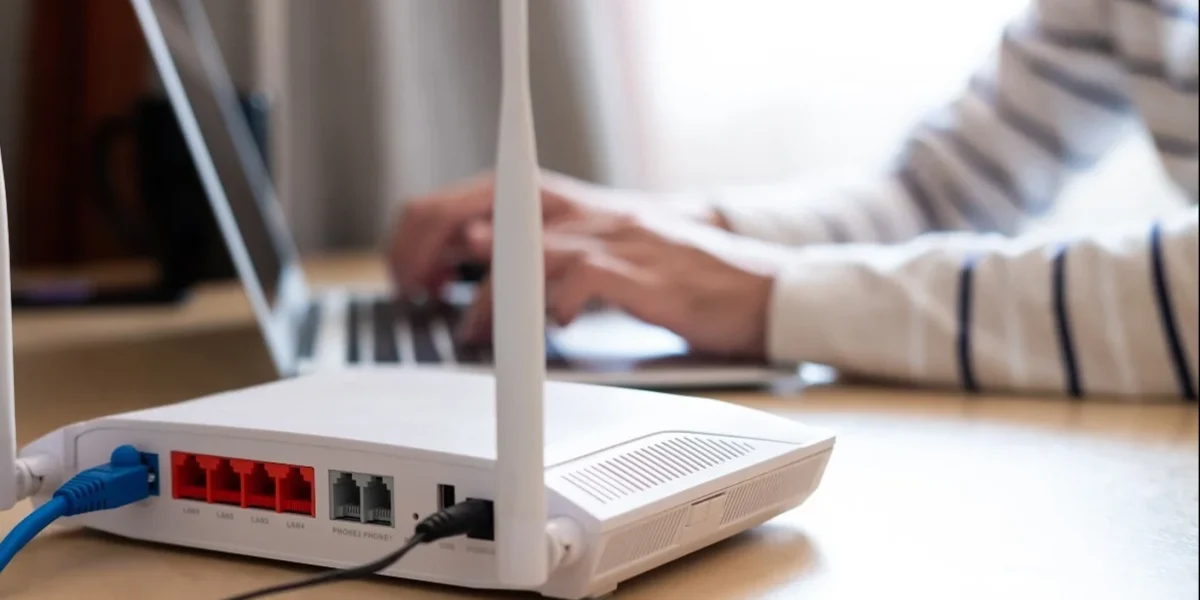
- Router or Switch: Decide whether you’ll connect the NAS directly to a router or a switch. A router will give your NAS access to the internet, while a switch is used only for local area network (LAN) connections.
- Ethernet Cable: You’ll need at least one Ethernet cable to connect the NAS to your router or switch. Use a Cat5e or Cat6 cable for best performance to ensure fast data transfer speeds.
- Power Supply: Ensure your NAS device is plugged into a reliable power source.
Step 2: Connect the NAS to the Router or Switch
Once you have your equipment ready, the next step is to physically connect the NAS device to your network. This process is quite simple:
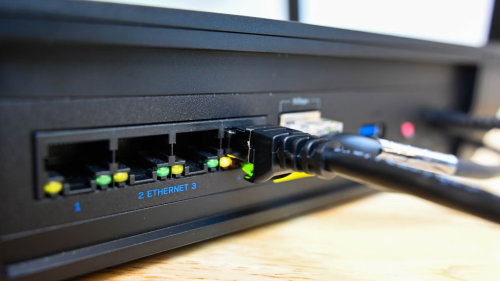
- Locate the Ethernet Port: Most NAS devices will have one or more Gigabit Ethernet ports on the back. Identify the port where you will connect the Ethernet cable.
- Connect the Ethernet Cable: Plug one end of the Ethernet cable into the Ethernet port on the NAS device.
- Connect to the Router or Switch: Plug the other end of the Ethernet cable into an available port on your router or network switch. If you’re connecting to a router, this will give the NAS device access to the internet, allowing for remote access and automatic updates. If you’re connecting to a switch, the NAS will be accessible only within your local network.
- Power On the NAS: Once the physical connection is established, turn on the NAS device. Wait for it to boot up, which may take a few minutes depending on the model.
Step 3: Initial Network Configuration
With the NAS device physically connected to the router or switch, the next step is configuring the device so that it can be accessed across the network.
- Access the NAS Configuration Page: Most NAS devices come with a default web-based configuration page. To access this page:
- Open a web browser on a computer connected to the same network.
- Enter the NAS device’s default IP address (usually found in the user manual or printed on the device). If you don’t know the IP address, you can use a network scanning tool or check your router’s admin page to find it.
- Follow the Setup Wizard: Most NAS devices have an easy-to-use setup wizard that will guide you through the initial configuration process. You will typically be asked to set a device name, configure user accounts, and set up shared folders.
- Assign a Static IP Address (Optional): To ensure the NAS device always has the same IP address, it’s a good idea to assign it a static IP address. This can usually be done in the NAS’s settings or via your router’s DHCP settings.
Step 4: Create and Configure Shared Folders
NAS devices allow you to create shared folders that can be accessed by any device on the network. These folders can be customized to control who has access and what kind of permissions they have (read-only, full access, etc.).
- Create a New Shared Folder: Navigate to the storage or shared folder section of the NAS’s interface and create a new folder. Give it a name (e.g., “Documents,” “Photos,” or “Media”).
- Set User Permissions: Most NAS devices allow you to control access by creating user accounts or groups. You can assign different permissions to each user or group depending on your needs. For example, you might want some users to have full access, while others can only view files.
- Enable File Sharing Protocols: Depending on your needs, you may need to enable different file-sharing protocols such as SMB (Windows), AFP (Mac), or NFS (Linux). You can usually find these options in the NAS’s network settings.
Step 5: Accessing the NAS from Devices on the Network
Once the NAS is connected and configured, it’s time to access it from devices on the network.
- Access from a PC (Windows):
- Open File Explorer and click on “Network” in the sidebar.
- You should see the NAS listed under the “Computers” section.
- Double-click on the NAS, and enter any required login credentials to access shared folders.
- Access from a Mac (macOS):
- Open Finder and click on “Go” in the menu bar.
- Select “Connect to Server,” then enter the IP address or name of the NAS (e.g., smb://192.168.1.100).
- Enter your login credentials to access the shared folders.
- Access from a Smartphone or Tablet:
- Most NAS devices offer mobile apps (e.g., Synology’s DS File or QNAP’s Qfile) that allow you to access files directly from your smartphone or tablet.
- Download the appropriate app from your device’s app store, log in, and start accessing your files.
Step 6: Securing Your NAS
Since your NAS stores important files, ensuring its security is essential. Here are a few tips to secure your NAS:
- Change Default Login Credentials: Always change the default username and password to something more secure.
- Enable Two-Factor Authentication (2FA): If your NAS device supports it, enable two-factor authentication to add an extra layer of security.
- Keep Firmware Updated: Regularly update the NAS’s firmware to protect against security vulnerabilities.
- Limit Remote Access: If you don’t need remote access, disable it to reduce the risk of external threats.
Conclusion
Setting up a Network-Attached Storage (NAS) device on your network is a straightforward process that can significantly enhance your data storage and accessibility. Whether you’re using the NAS for personal file storage, business backups, or media streaming, following these steps ensures that your NAS device is securely connected to your router or switch and accessible from any device on the network.
By properly configuring and securing your NAS, you can enjoy the convenience of centralized data storage while ensuring that your files remain safe and accessible.